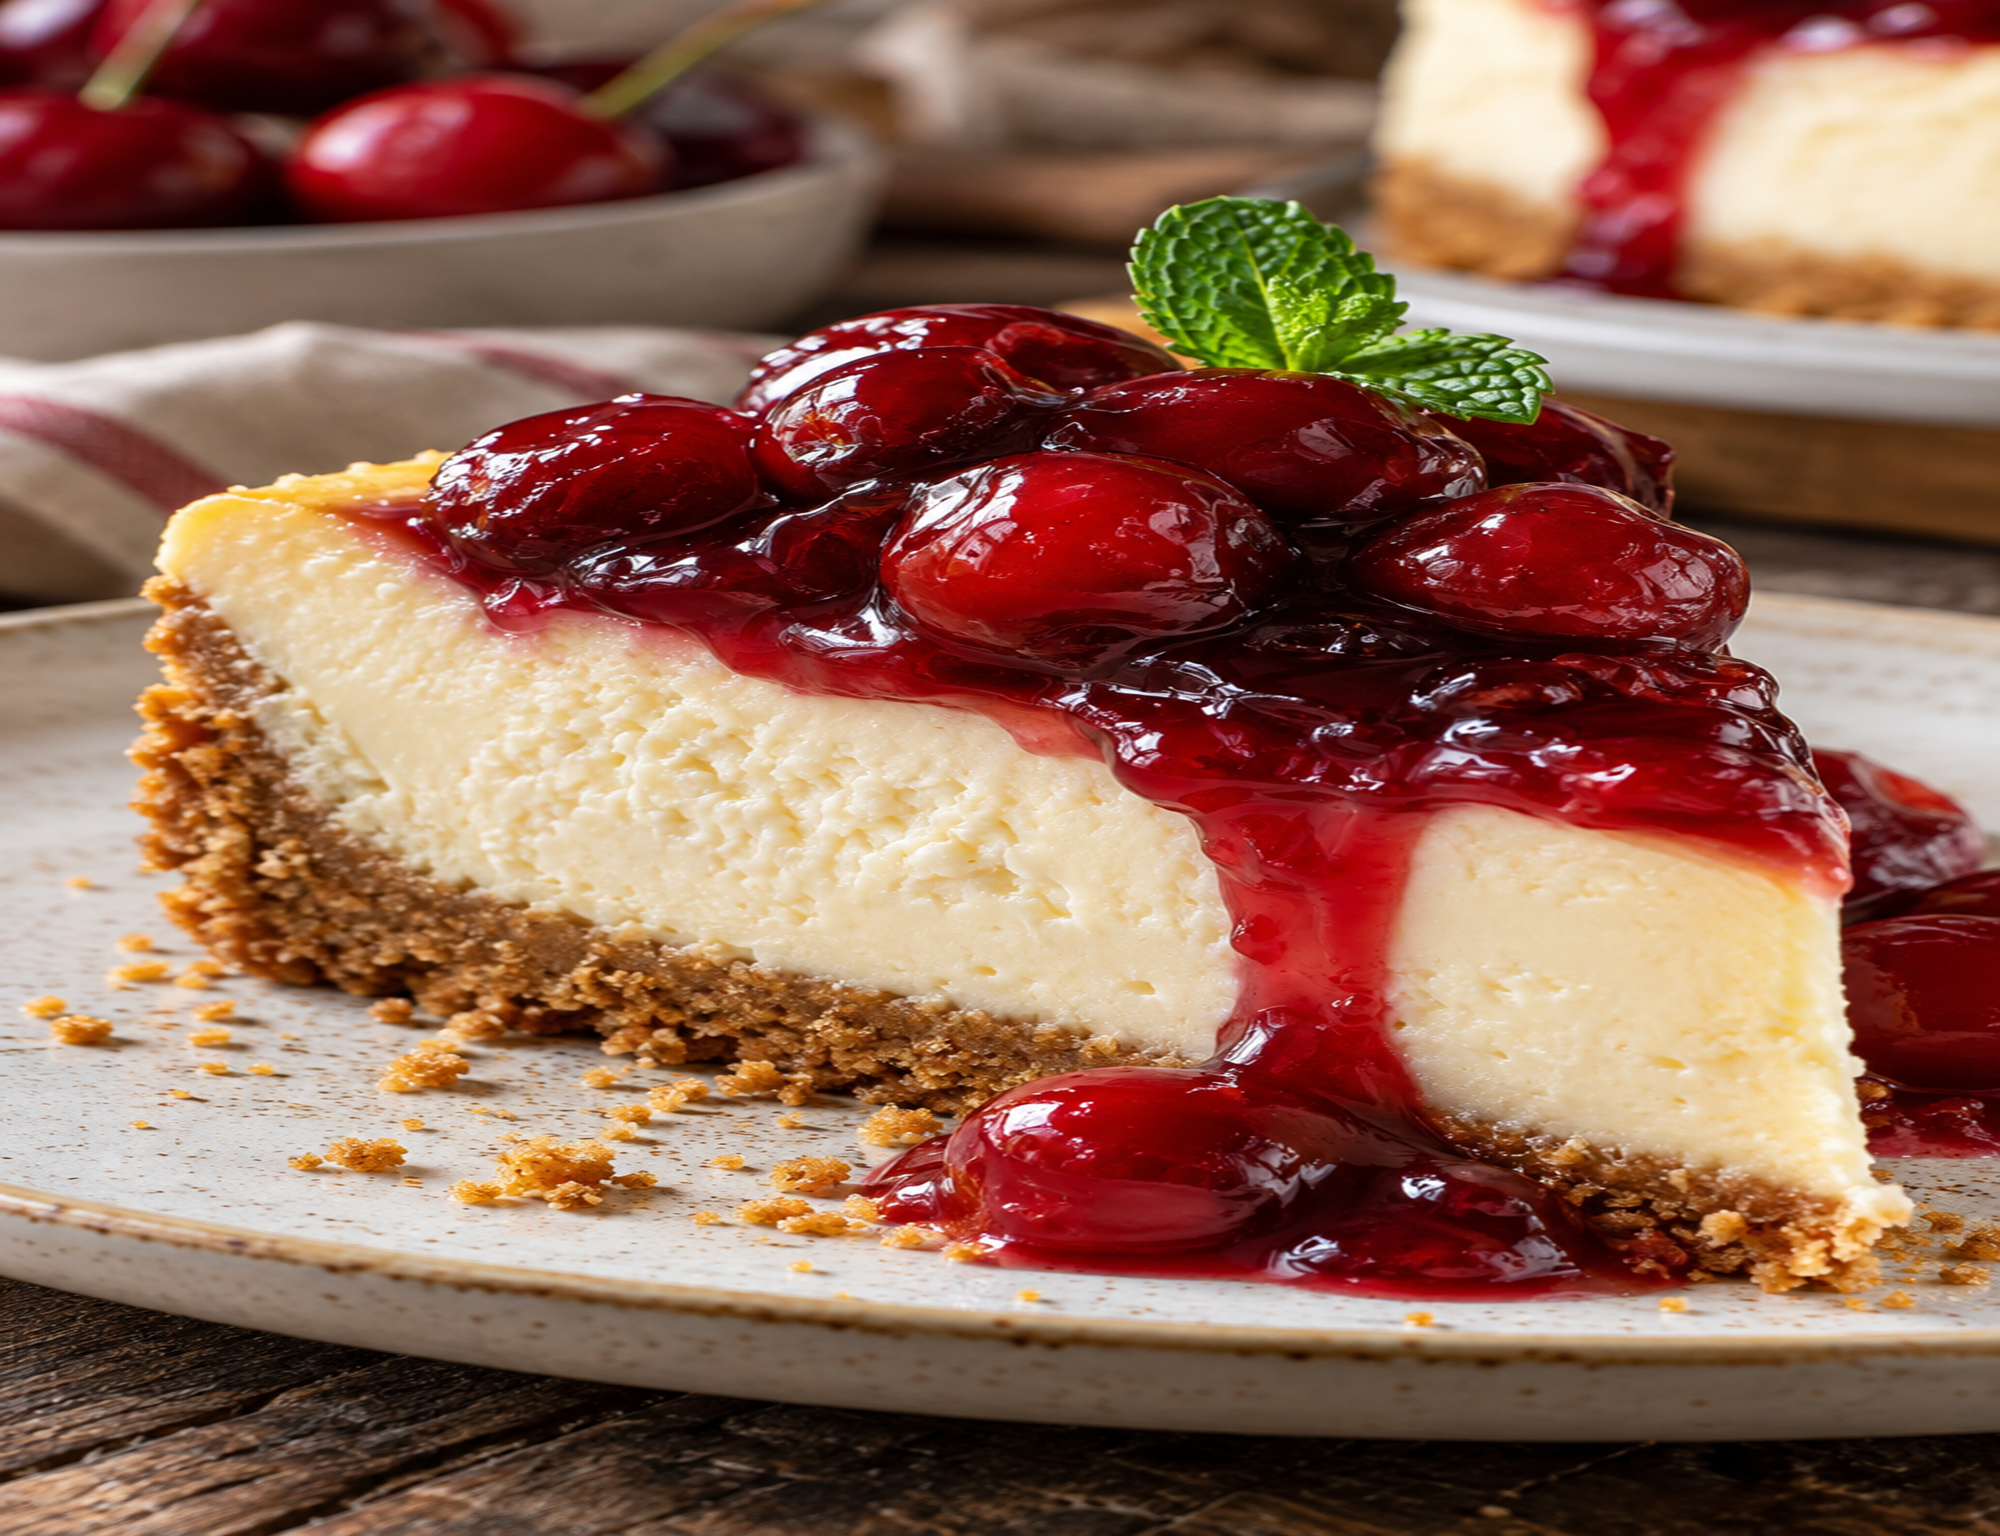
Cherry Cheesecake Recipe with Juicy Cherry Topping
There is something especially satisfying about a cheesecake with a generous cherry topping. The contrast is what makes it work: a crisp, buttery crust underneath a dense but creamy cheesecake filling, followed by tart-sweet cherries and their glossy fruit sauce.
This baked cherry cheesecake is designed around that contrast. The filling stays rich and smooth rather than fluffy, while the cherry topping adds brightness and enough acidity to keep each bite from feeling overly heavy. It is the kind of dessert that looks impressive on a serving plate but is very manageable in a home kitchen.
Why This Cherry Cheesecake Works
The key is controlling the texture at every stage. Cheesecake does not need complicated decoration to be memorable. A well-baked filling, a sturdy crumb crust, and a flavorful fruit topping do most of the work.
The cherry topping is particularly important. Instead of treating it as decoration, think of it as part of the flavor structure. The cherries bring acidity and fruitiness, while the sugar rounds out their tartness. The syrup also creates a soft contrast against the firm cheesecake.
Ingredients You’ll Need
For the Graham Cracker Crust
- 2 cups graham cracker crumbs
- 5 tablespoons unsalted butter, melted
- 2 tablespoons granulated sugar
- Pinch of salt
For the Cheesecake Filling
- 24 ounces full-fat cream cheese, softened
- 3/4 cup granulated sugar
- 3 large eggs, room temperature
- 1 teaspoon vanilla extract
- 1/2 cup sour cream
- 1 tablespoon all-purpose flour
- 1 tablespoon fresh lemon juice
- Pinch of salt
For the Cherry Topping
- 4 cups pitted fresh or frozen sweet cherries
- 1/2 cup granulated sugar
- 1 tablespoon fresh lemon juice
- 1 tablespoon cornstarch
- 2 tablespoons cold water
- 1 teaspoon vanilla extract
Optional Garnish
- Fresh cherries
- Fresh mint leaves
The Equipment That Makes Cheesecake Easier
A 9-inch springform pan is the most useful piece of equipment for this recipe because its removable sides make it much easier to release a delicate cheesecake without damaging the crust.
An electric mixer can also make the filling easier, but it should be used at moderate speed rather than aggressively. Too much air incorporated into the batter can contribute to an uneven surface as the cheesecake bakes and cools.
A flat-bottomed measuring cup is surprisingly useful for pressing the graham cracker mixture firmly and evenly into the pan. A small offset spatula can then help smooth the filling and cherry topping.
How to Make Cherry Cheesecake
1. Prepare the Crust
Heat the oven to 350°F. Lightly grease a 9-inch springform pan and line the bottom with parchment paper if desired.
Combine the graham cracker crumbs, sugar, salt, and melted butter. The mixture should resemble damp sand and hold together when pressed between your fingers.
Press it firmly into the bottom of the pan. Bake for about 8 to 10 minutes, then remove it and let it cool slightly.
2. Make the Cheesecake Filling
Reduce the oven temperature to 325°F.
Beat the softened cream cheese and sugar until smooth. Scrape down the sides of the bowl before adding the eggs. Add the eggs one at a time, mixing just until each one disappears into the batter.
Add the sour cream, vanilla, lemon juice, flour, and salt. Mix gently until the filling is uniform.
The important visual cue is a smooth batter without excessive bubbles. Do not keep mixing once everything is incorporated.
3. Bake the Cheesecake
Pour the filling over the cooled crust and gently smooth the top.
Bake at 325°F for approximately 55 to 70 minutes. The edges should look set while the center should still have a gentle wobble when the pan is carefully moved.
That slight movement is desirable. Cheesecake continues to firm as it cools, so baking until the center is completely rigid can produce a drier texture.
Turn off the oven and leave the cheesecake inside with the door slightly open for about 30 minutes. Remove it and allow it to cool completely at room temperature before refrigerating.
4. Cook the Cherry Topping
Place the cherries, sugar, and lemon juice in a saucepan over medium heat. Cook for several minutes until the cherries begin releasing their juices.
Mix the cornstarch with cold water in a small bowl to make a smooth slurry. Stir it into the cherries and cook for another 1 to 2 minutes, stirring gently, until the liquid thickens.
Remove from the heat and stir in the vanilla. Let the topping cool before spooning it over the cheesecake.
5. Chill and Serve
Refrigerate the cheesecake for at least 6 hours, preferably overnight. For the cleanest slices, use a sharp knife dipped in hot water and wiped dry between cuts.
Spread the cooled cherry topping over the cheesecake shortly before serving, or add it to individual slices. A few fresh cherries and mint leaves make a simple garnish without overwhelming the dessert.
Fresh Cherries vs. Frozen Cherries
Both work well for the topping. Fresh cherries are especially appealing when they are naturally sweet and in season. Frozen pitted cherries are convenient throughout the year and can produce an excellent sauce because they release plenty of juice as they cook.
If using frozen cherries, there is no need to completely thaw them first. Simply allow for a little extra cooking time while the fruit heats through and releases its liquid.
Why Cheesecake Sometimes Cracks
A cracked cheesecake is usually a texture issue only if it has been overbaked. The filling continues cooking from residual heat after the oven is turned off, which is why removing it while the center still has a slight wobble is useful.
Another common cause is overmixing after the eggs are added. Excessive air can expand during baking and then collapse during cooling.
If your cheesecake does crack, there is no need to discard it. A generous layer of cherry topping naturally covers small surface cracks and turns them into part of the finished dessert.
How to Keep the Filling Creamy
Start with softened cream cheese. Cold cream cheese is harder to blend smoothly and can encourage excessive mixing as you try to remove lumps.
Room-temperature eggs also incorporate more easily. The goal is not to whip the batter but to combine the ingredients into a smooth, cohesive mixture with as little unnecessary air as possible.
Sour cream contributes richness and a subtle tang while helping create the soft, creamy texture associated with classic baked cheesecake.
Make-Ahead, Storage, and Freezing
Cherry cheesecake is an excellent make-ahead dessert. The cheesecake itself can be baked a day before serving and kept covered in the refrigerator.
For the best texture, store the cheesecake and cherry topping separately when preparing several days in advance. Add the topping after the cheesecake has fully chilled.
Store leftovers in an airtight container or tightly covered in the refrigerator and use within about 4 days.
To freeze the cheesecake, chill it completely, then wrap individual slices securely before placing them in a freezer-safe container. Thaw overnight in the refrigerator. For the best presentation, add fresh cherry topping after thawing.
Common Mistakes to Avoid
- Using cold cream cheese: This can leave small lumps in the filling.
- Overmixing the eggs: Mix only until incorporated.
- Overbaking: The center should retain a gentle wobble.
- Cutting it too soon: Cheesecake needs several hours to fully set.
- Adding hot cherry topping: Allow the topping to cool before spreading it over the chilled cheesecake.
- Under-pressing the crust: A loose crust can crumble when the cheesecake is sliced.
Easy Variations
Chocolate Cherry Cheesecake: Add 2 tablespoons of unsweetened cocoa powder to the crust and use chocolate graham crackers.
Almond Cherry Cheesecake: Add 1/2 teaspoon almond extract to the cherry topping for a classic cherry-almond flavor combination.
Mini Cherry Cheesecakes: Divide the crust and filling among a lined muffin pan and reduce the baking time substantially. Watch for the same visual cue: set edges with a slightly soft center.
Serving Ideas
Serve the cheesecake cold or let individual slices sit at room temperature for about 10 to 15 minutes before eating. This short rest allows the filling to soften slightly and makes the creamy texture more noticeable.
A cup of coffee works especially well with the rich cheesecake, while unsweetened tea provides a cleaner contrast to the sweet cherry topping.
Recipe Card
| Prep Time | 30 minutes |
|---|---|
| Cook Time | 65 minutes |
| Cooling & Chilling | 6 hours or overnight |
| Total Time | About 7 hours 35 minutes |
| Servings | 10 slices |
| Difficulty | Intermediate |
| Cuisine | American |
| Course | Dessert |
| Calories | Approximately 520 calories per slice; estimate only |
Frequently Asked Questions
Can I use canned cherry pie filling?
Yes. It is a convenient shortcut, although homemade cherry topping gives you more control over sweetness, tartness, and cherry texture.
Why does my cheesecake need to chill for so long?
The filling continues to firm as it cools. Chilling also makes the cheesecake easier to slice cleanly without compressing the creamy center.
Can I make this cheesecake without a springform pan?
You can use a deep 9-inch cake pan, but removing the cheesecake intact is more difficult. A springform pan is considerably more convenient for this style of dessert.
Can I use frozen cherries?
Yes. Frozen pitted cherries are a practical option when fresh cherries are unavailable. They may release more liquid, so cook the topping until it reaches the desired consistency.
How do I prevent the cherry topping from becoming watery?
Use the cornstarch slurry and allow the topping to simmer briefly after adding it. It should coat a spoon rather than behave like thin fruit juice.
Can I make the cheesecake the day before?
Absolutely. In fact, making it the day before gives the cheesecake plenty of time to chill and develop its final texture.
Should the cherry topping be hot when added?
No. Let it cool first. A hot topping can soften the cheesecake surface and make the finished dessert harder to slice neatly.
Can I freeze leftover cheesecake?
Yes. Freeze well-wrapped individual slices and thaw them overnight in the refrigerator. Add fresh cherry topping after thawing for the best appearance.
More Dessert Ideas to Build Around This Recipe
For a cherry-focused dessert collection, consider developing a cherry crumble, cherry vanilla cupcakes, cherry chocolate brownies, or a no-bake cherry cream dessert. These recipes can complement a cheesecake collection while giving readers different textures and preparation methods.
Final Tips for the Best Cherry Cheesecake
Take your time with the cooling process. That is one of the easiest parts of this recipe to rush, and it has a major effect on the final texture.
Keep the cheesecake creamy rather than chasing an absolutely firm center in the oven. Let refrigeration finish the job. And do not underestimate the cherry topping: slightly tart, thick cherries provide the acidity and fruitiness that balance the richness of the cheesecake beautifully.