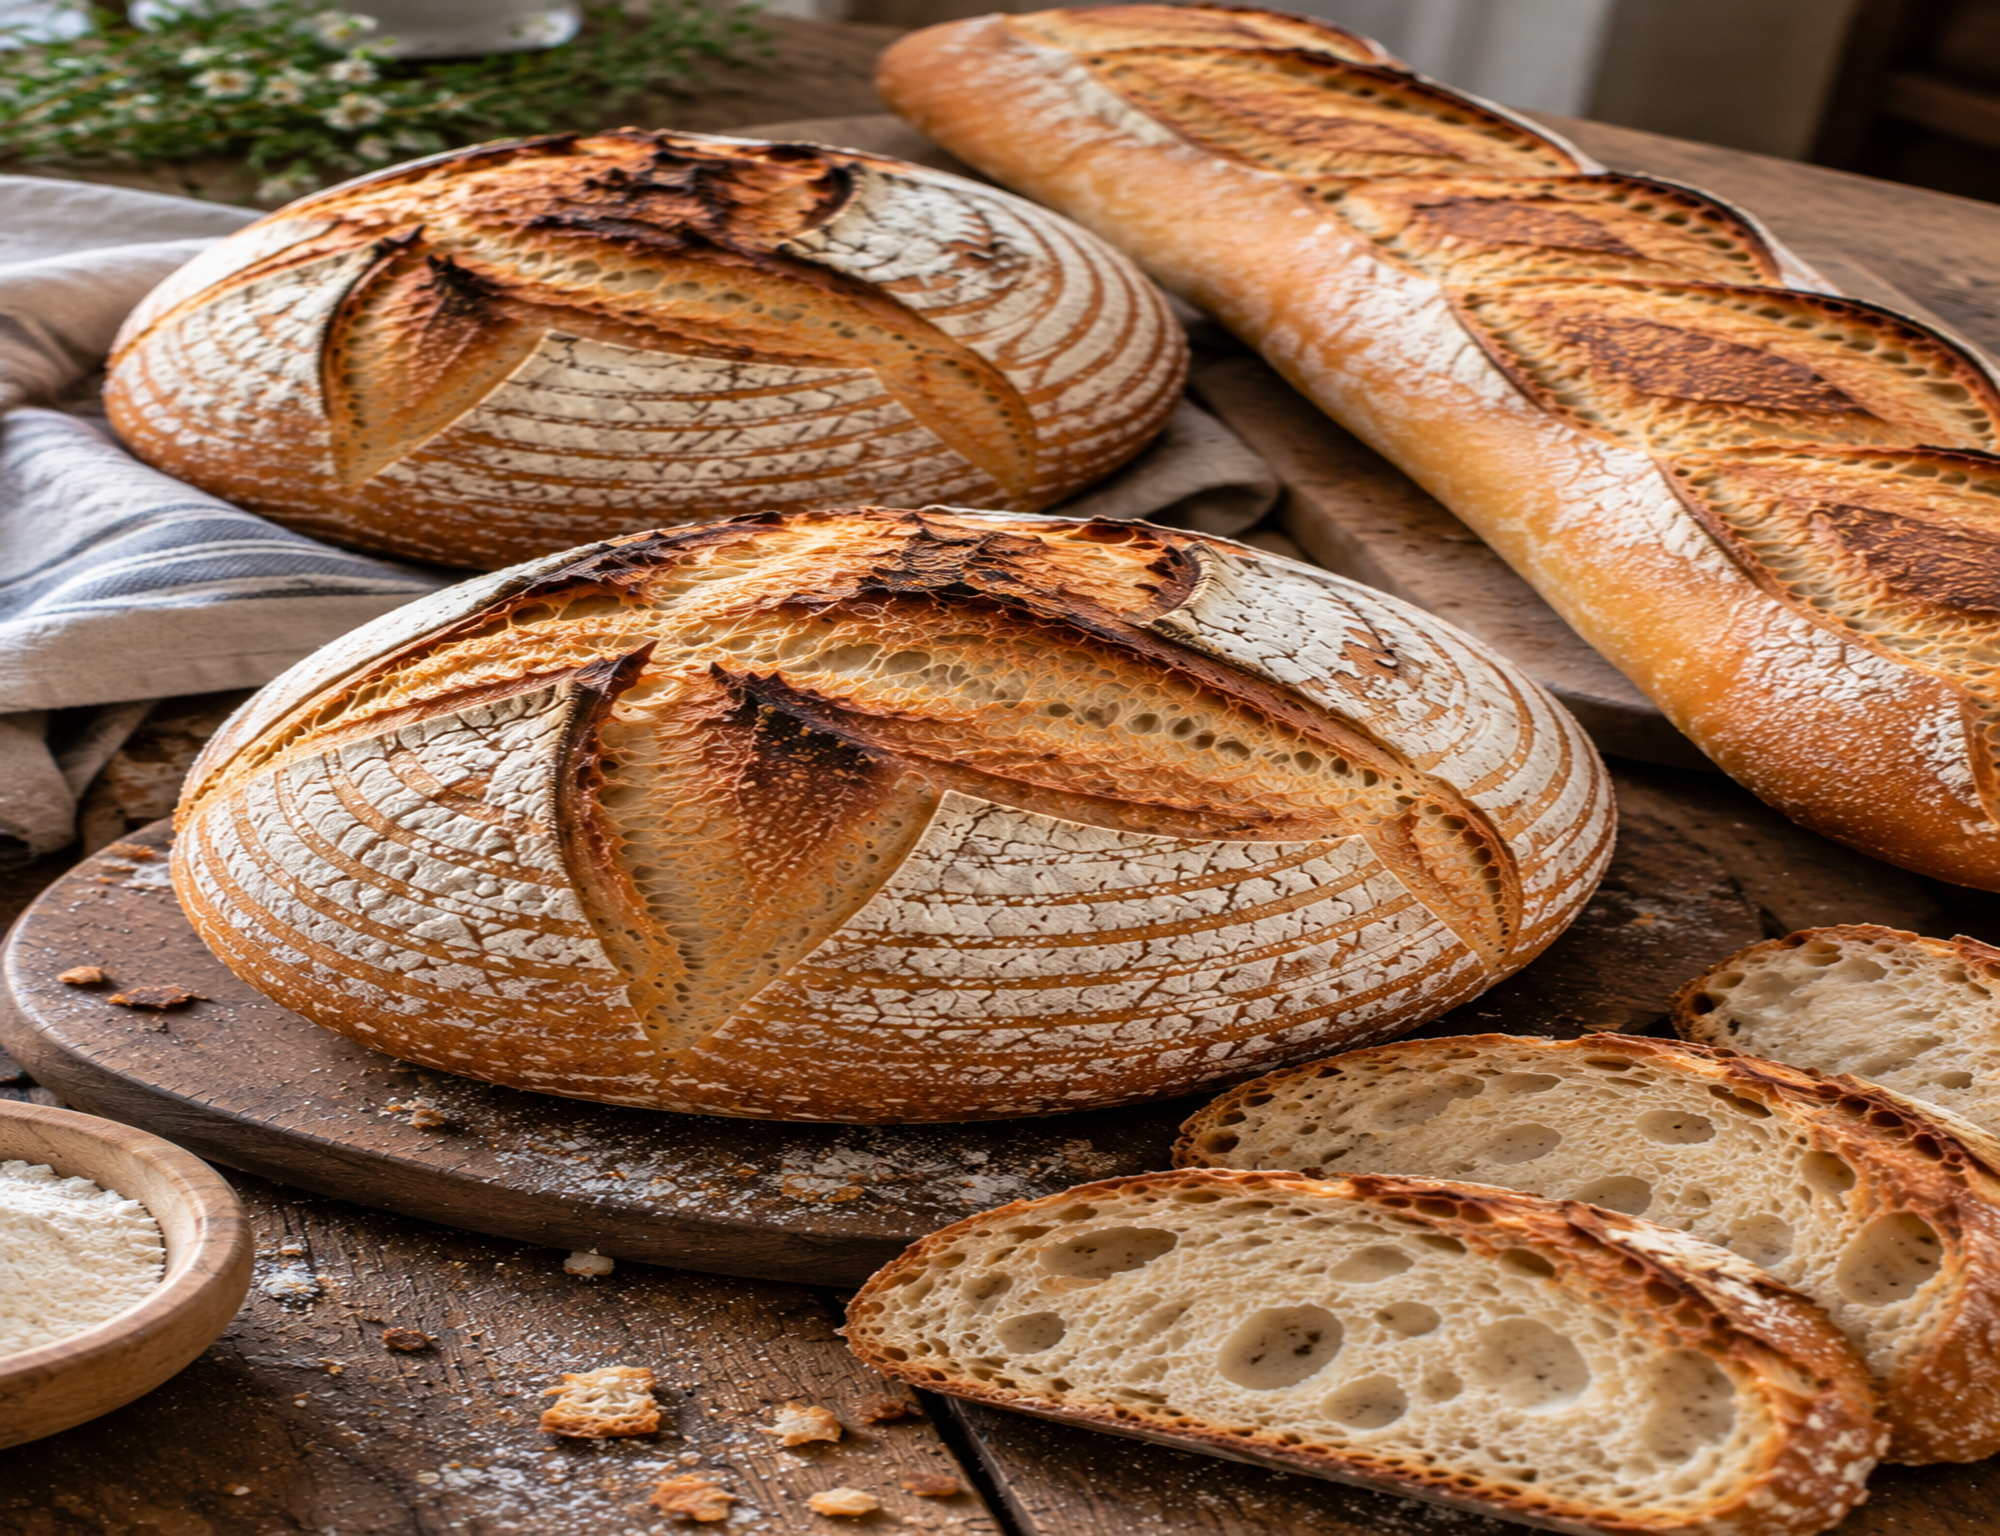
Easy Homemade Artisan Sourdough Bread with a Crispy Golden Crust
Homemade artisan sourdough bread has a deeply golden crust, a chewy interior, and the rustic appearance of a loaf from a neighborhood bakery. This recipe uses an active sourdough starter, flour, water, and salt to create a naturally leavened loaf with a simple ingredient list and plenty of flavor.
The process takes time because the dough needs to ferment and develop structure, but most of that time is hands-off. With a few rounds of stretching and folding, careful shaping, and a hot Dutch oven, you can bake a crusty sourdough boule in your own kitchen.
Why You’ll Love This Homemade Sourdough Bread
- Crispy crust: Baking in a covered Dutch oven traps steam during the first part of baking, helping the loaf expand before the crust sets.
- Chewy interior: Proper fermentation and gentle dough handling help develop an open, pleasantly chewy crumb.
- Simple ingredients: The dough needs only bread flour, water, active sourdough starter, and salt.
- Flexible schedule: An overnight refrigerator proof makes it easier to plan baking around your day.
Ingredients You’ll Need
Bread Flour
Bread flour provides the protein needed to develop a strong gluten network. All-purpose flour can work, although the dough may have a slightly different texture and structure.
Water
Use room-temperature water to bring the dough together. The exact fermentation speed will depend on the temperature of the water, the room, and the dough itself.
Active Sourdough Starter
Use 100 grams of active starter at approximately 100% hydration, meaning it has been maintained with equal weights of flour and water. It should look bubbly and expanded after feeding and have a pleasantly tangy aroma. A weak or inactive starter can make the dough rise very slowly.
Salt
Fine salt seasons the loaf and helps regulate fermentation. Weigh it when possible for consistent results.
Equipment
- Digital kitchen scale
- Large mixing bowl
- Dough scraper or sturdy spatula
- Clean kitchen towel or reusable bowl cover
- Banneton or a medium bowl lined with a floured kitchen towel
- Parchment paper suitable for the baking temperature
- 5- to 6-quart Dutch oven with a heat-safe lid
- Sharp bread lame or scoring blade
- Wire cooling rack
How to Make Artisan Sourdough Bread
Step 1: Mix the Dough
Combine 500 grams of bread flour and 350 grams of water in a large bowl until no dry flour remains. Cover and let the mixture rest for 30 minutes. Add 100 grams of active sourdough starter and 10 grams of salt. Work them into the dough by pinching and folding until evenly incorporated. The dough may feel sticky at first.
Step 2: Begin Bulk Fermentation
Cover the bowl and let the dough ferment at a comfortable room temperature, ideally around 72–78°F (22–26°C). During the first two hours, perform three or four sets of stretch-and-folds, spacing them about 30 minutes apart. For each set, lift one edge of the dough, stretch it gently, and fold it over the center. Rotate the bowl and repeat around the dough.
After the folds, leave the dough covered until it looks smoother, feels airy, and has risen by roughly 50–75%. Depending on starter strength and temperature, bulk fermentation may take approximately 4–6 hours in total, or longer in a cool kitchen. Use the dough’s appearance and rise rather than the clock alone.
Step 3: Shape the Loaf
Lightly flour the work surface and turn out the dough. Gently shape it into a loose round without pressing out all the gas. Let it rest for 15–20 minutes. Then create surface tension by folding the edges toward the center and carefully tightening the dough into a boule. Avoid adding too much extra flour, which can make the dough difficult to seal.
Step 4: Proof in the Refrigerator
Place the dough seam-side up in a well-floured banneton or towel-lined bowl. Cover and refrigerate for 8–16 hours. This cold proof makes the dough easier to score and allows the flavor to develop. If the dough has not fermented enough before refrigeration, it may still be underproofed when baked.
Step 5: Preheat the Dutch Oven
Place the Dutch oven and its lid in the oven. Preheat to 475°F (245°C) for about 30–45 minutes, following the cookware manufacturer’s temperature limits. Handle the hot pot carefully and keep it on a heat-safe surface.
Step 6: Score the Dough
Turn the cold dough onto parchment paper. Use a sharp scoring blade to make one confident slash about 1/4–1/2 inch deep across the top. A clean cut gives the loaf room to expand in the oven. Keep your hands clear of the blade.
Step 7: Bake Until Golden
Carefully lower the dough, on the parchment, into the hot Dutch oven and cover with the lid. Reduce the oven temperature to 450°F (232°C) and bake covered for 20 minutes. Remove the lid and continue baking for another 20–25 minutes, until the crust is a deep golden brown.
The loaf is ready when the crust is well browned and the bread sounds hollow when tapped on the bottom. If using an instant-read thermometer, a center temperature around 205–210°F (96–99°C) is a useful additional check.
Step 8: Cool Before Slicing
Transfer the loaf to a wire rack and allow it to cool for at least 2 hours before slicing. The interior continues to set as it cools. Cutting too early can leave the crumb gummy even when the crust looks fully baked.
Tips for a Crispy Golden Crust
- Start with an active starter. Consistent fermentation is essential for a loaf that rises properly.
- Watch the dough, not just the time. Cooler kitchens slow fermentation, while warmer conditions speed it up.
- Build strength with folds. Gentle folds help the dough hold its shape without intensive kneading.
- Preheat the Dutch oven thoroughly. A hot baking vessel encourages strong oven spring.
- Finish uncovered. Removing the lid lets excess moisture escape and allows the crust to brown.
- Let the loaf cool completely. This helps preserve a better crumb and makes slicing easier.
Common Sourdough Problems and How to Fix Them
Why Is My Sourdough Bread Dense?
A dense loaf can result from an inactive starter, insufficient fermentation, or dough that has not developed enough strength. Check that the starter rises reliably after feeding and allow the dough to become visibly aerated before shaping.
Why Didn’t My Bread Rise in the Oven?
Limited oven spring may be caused by underfermentation, overfermentation, weak dough structure, or a shallow score. Watch for a noticeable rise during bulk fermentation, shape the loaf carefully, and make a decisive cut before baking.
Why Is the Inside Gummy?
The loaf may need more baking time or additional cooling. Bake until the crust is deeply browned and the center is fully cooked, then wait at least two hours before cutting.
Why Is My Crust Too Hard?
A thick crust can develop when the loaf bakes too long or loses moisture during storage. Check the loaf during the uncovered baking stage and store the cooled bread in a paper bag or bread box if you want to preserve the crust.
Serving Suggestions
Serve slices with salted butter, jam, olive oil, or your favorite cheese. The bread also works well for avocado toast, hearty sandwiches, and homemade croutons. Slightly stale slices can be toasted or used in savory bread-based dishes.
How to Store Homemade Sourdough Bread
Let the bread cool completely before storing it. Keep the cut side down on a cutting board for short-term use, or store the loaf in a paper bag or bread box at room temperature. Avoid refrigerating bread because it can stale more quickly in the refrigerator.
For longer storage, slice the cooled loaf and freeze it in a well-sealed freezer bag for up to about 3 months for best quality. Toast slices directly from frozen, or thaw them at room temperature. To refresh a larger piece, warm it in a 350°F (175°C) oven until heated through.
Frequently Asked Questions
Can I use all-purpose flour instead of bread flour?
Yes. All-purpose flour can make a good loaf, though the dough may be less strong and the crumb may differ. Hold back a small amount of water at first and add it as needed to achieve a manageable dough.
Do I need a Dutch oven?
A Dutch oven is helpful because it traps steam around the loaf. If you do not have one, use a suitable baking method that creates steam safely, and follow the equipment manufacturer’s instructions. Do not pour water into hot glass cookware or onto an oven floor unless the oven manufacturer specifically permits it.
Can I skip the overnight refrigerator proof?
You can bake after a shorter final proof, but the dough may be softer to handle and the flavor may be different. Proof until the dough is appropriately aerated and responds gently to a light touch rather than relying on a fixed time alone.
How do I know if my sourdough starter is ready?
A ready starter is active, bubbly, and noticeably expanded after feeding. Its rise time depends on the flour, feeding ratio, and temperature. Use a starter that reliably produces a rise in your dough.
Easy Homemade Artisan Sourdough Bread Recipe Card
Recipe: Easy Homemade Artisan Sourdough Bread with a Crispy Golden Crust
Description: A rustic sourdough boule with a crisp golden crust and chewy interior, made with a naturally leavened dough.
Prep time: 35 minutes active preparation, plus rests and shaping
Bulk fermentation: Approximately 4–6 hours, depending on conditions
Cold proof: 8–16 hours
Cook time: 40–45 minutes
Total elapsed time: Approximately 13–23 hours, plus cooling; actual timing varies with fermentation.
Yield: 1 loaf, about 10–12 slices
Ingredients
- 4 cups (500 g) bread flour, preferably weighed
- 1 1/2 cups (350 g) water
- About 1/2 cup (100 g) active sourdough starter at 100% hydration
- 1 3/4 teaspoons (10 g) fine salt
Instructions
- Mix flour and water until no dry flour remains. Cover and rest for 30 minutes.
- Add the active starter and salt. Pinch and fold until evenly combined.
- Cover and bulk ferment at approximately 72–78°F (22–26°C), performing three or four stretch-and-fold sets during the first two hours.
- Continue fermenting until the dough looks aerated and has risen by roughly 50–75%, usually about 4–6 hours total depending on conditions.
- Shape into a round loaf, rest for 15–20 minutes if needed, then tighten the shape.
- Place seam-side up in a floured banneton or lined bowl. Cover and refrigerate for 8–16 hours.
- Preheat a Dutch oven and lid at 475°F (245°C) for 30–45 minutes, within the cookware’s rated temperature.
- Turn out the dough, score the top, and carefully transfer it on parchment to the hot Dutch oven.
- Reduce the oven to 450°F (232°C). Bake covered for 20 minutes, then uncovered for 20–25 minutes until deeply golden.
- Cool on a wire rack for at least 2 hours before slicing.
Recipe Notes
- Fermentation times vary with starter activity and dough temperature.
- Use a kitchen scale for the most reliable flour and water measurements.
- Cool fully before slicing for a better crumb.
Storage: Store cooled bread at room temperature in a bread box or paper bag. Freeze sliced bread in a sealed bag for up to about 3 months for best quality.
Nutrition: Not calculated. Values vary with ingredient brands, loaf size, and slice thickness.